Edit a couple of landscape images with me!
Step-by-Step: How I Edit My Landscape Photos (Fuji GFX 100S RAW to Final Image)
Editing is where a little bit of extra magic happens!
Although being out in nature is by far my favourite part of photography, I also enjoy the editing process. The challenge of recreating both what I saw, and the feelings the landscape evoked for me.
Creating a wall-worthy photograph doesn’t end with the click of the shutter. For me, that’s just the beginning! (That’s another part of my story - not only do I photograph and edit all of my artworks, but I also produce and frame them myself too!)
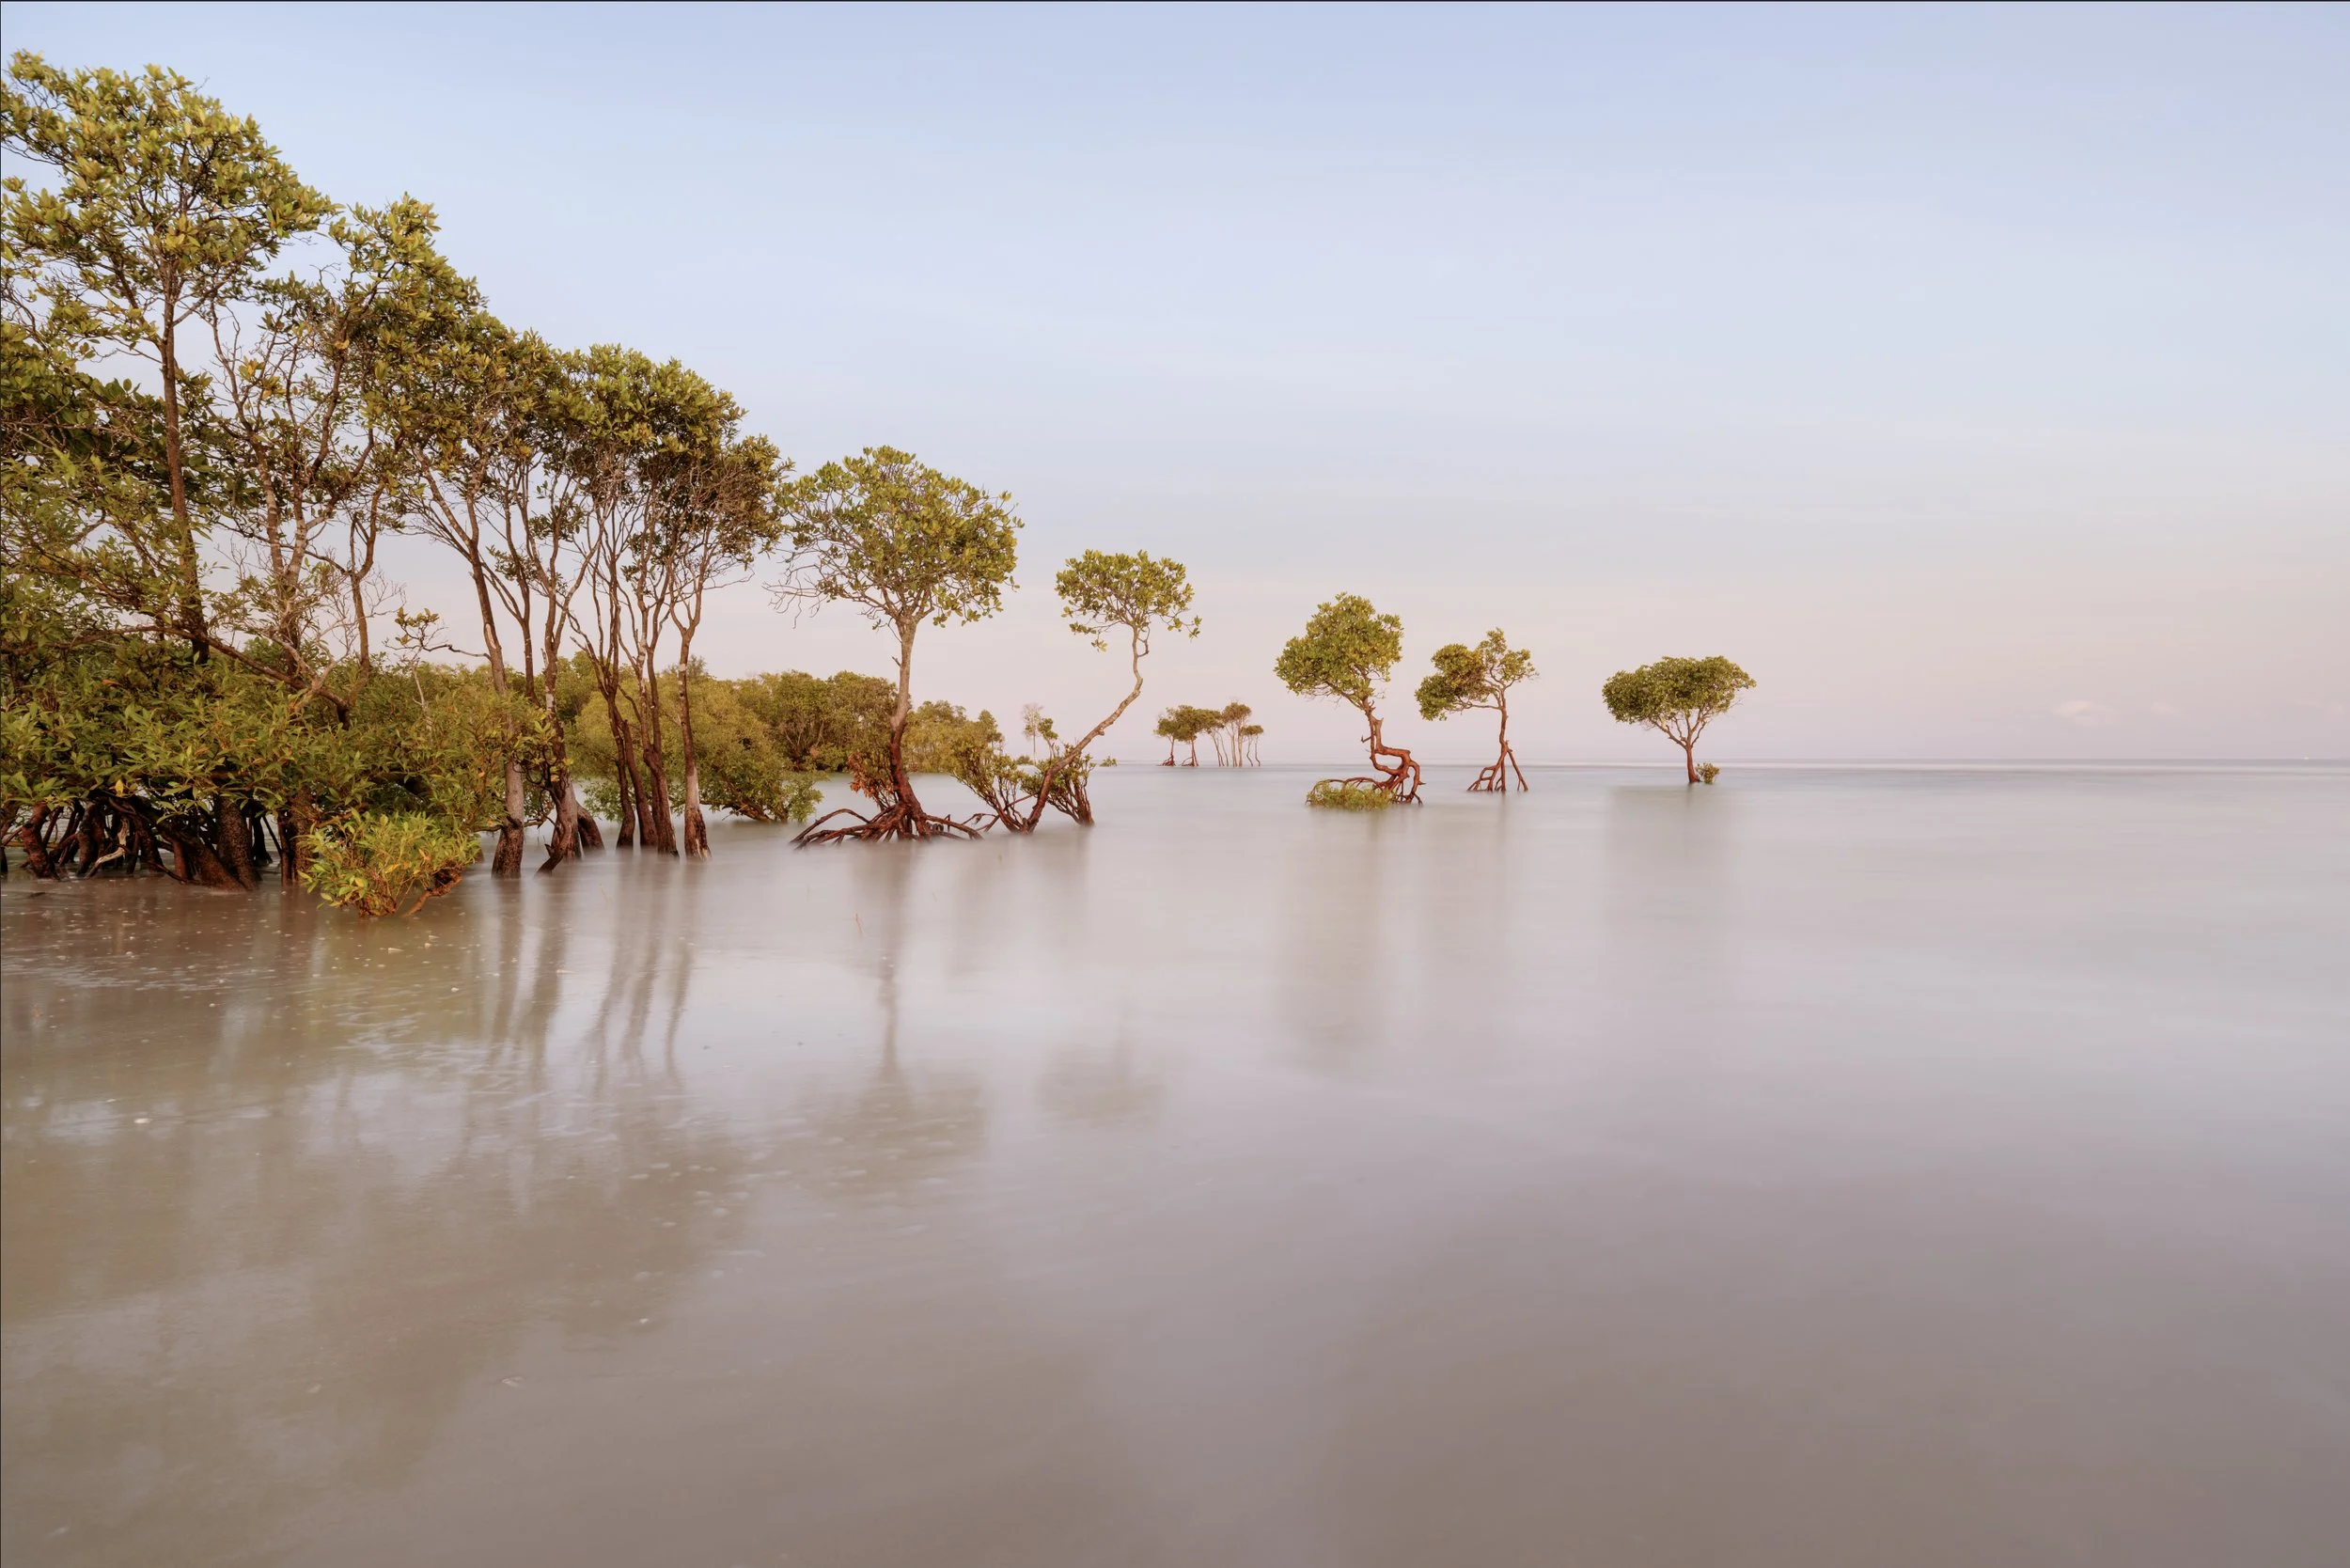
In this blog, I’ll walk you through how I transformed one of my recent images, from the untouched RAW file straight out of my Fuji GFX 100S, to the final artwork.
Below left: From RAW file….
to Below right, Finished image!
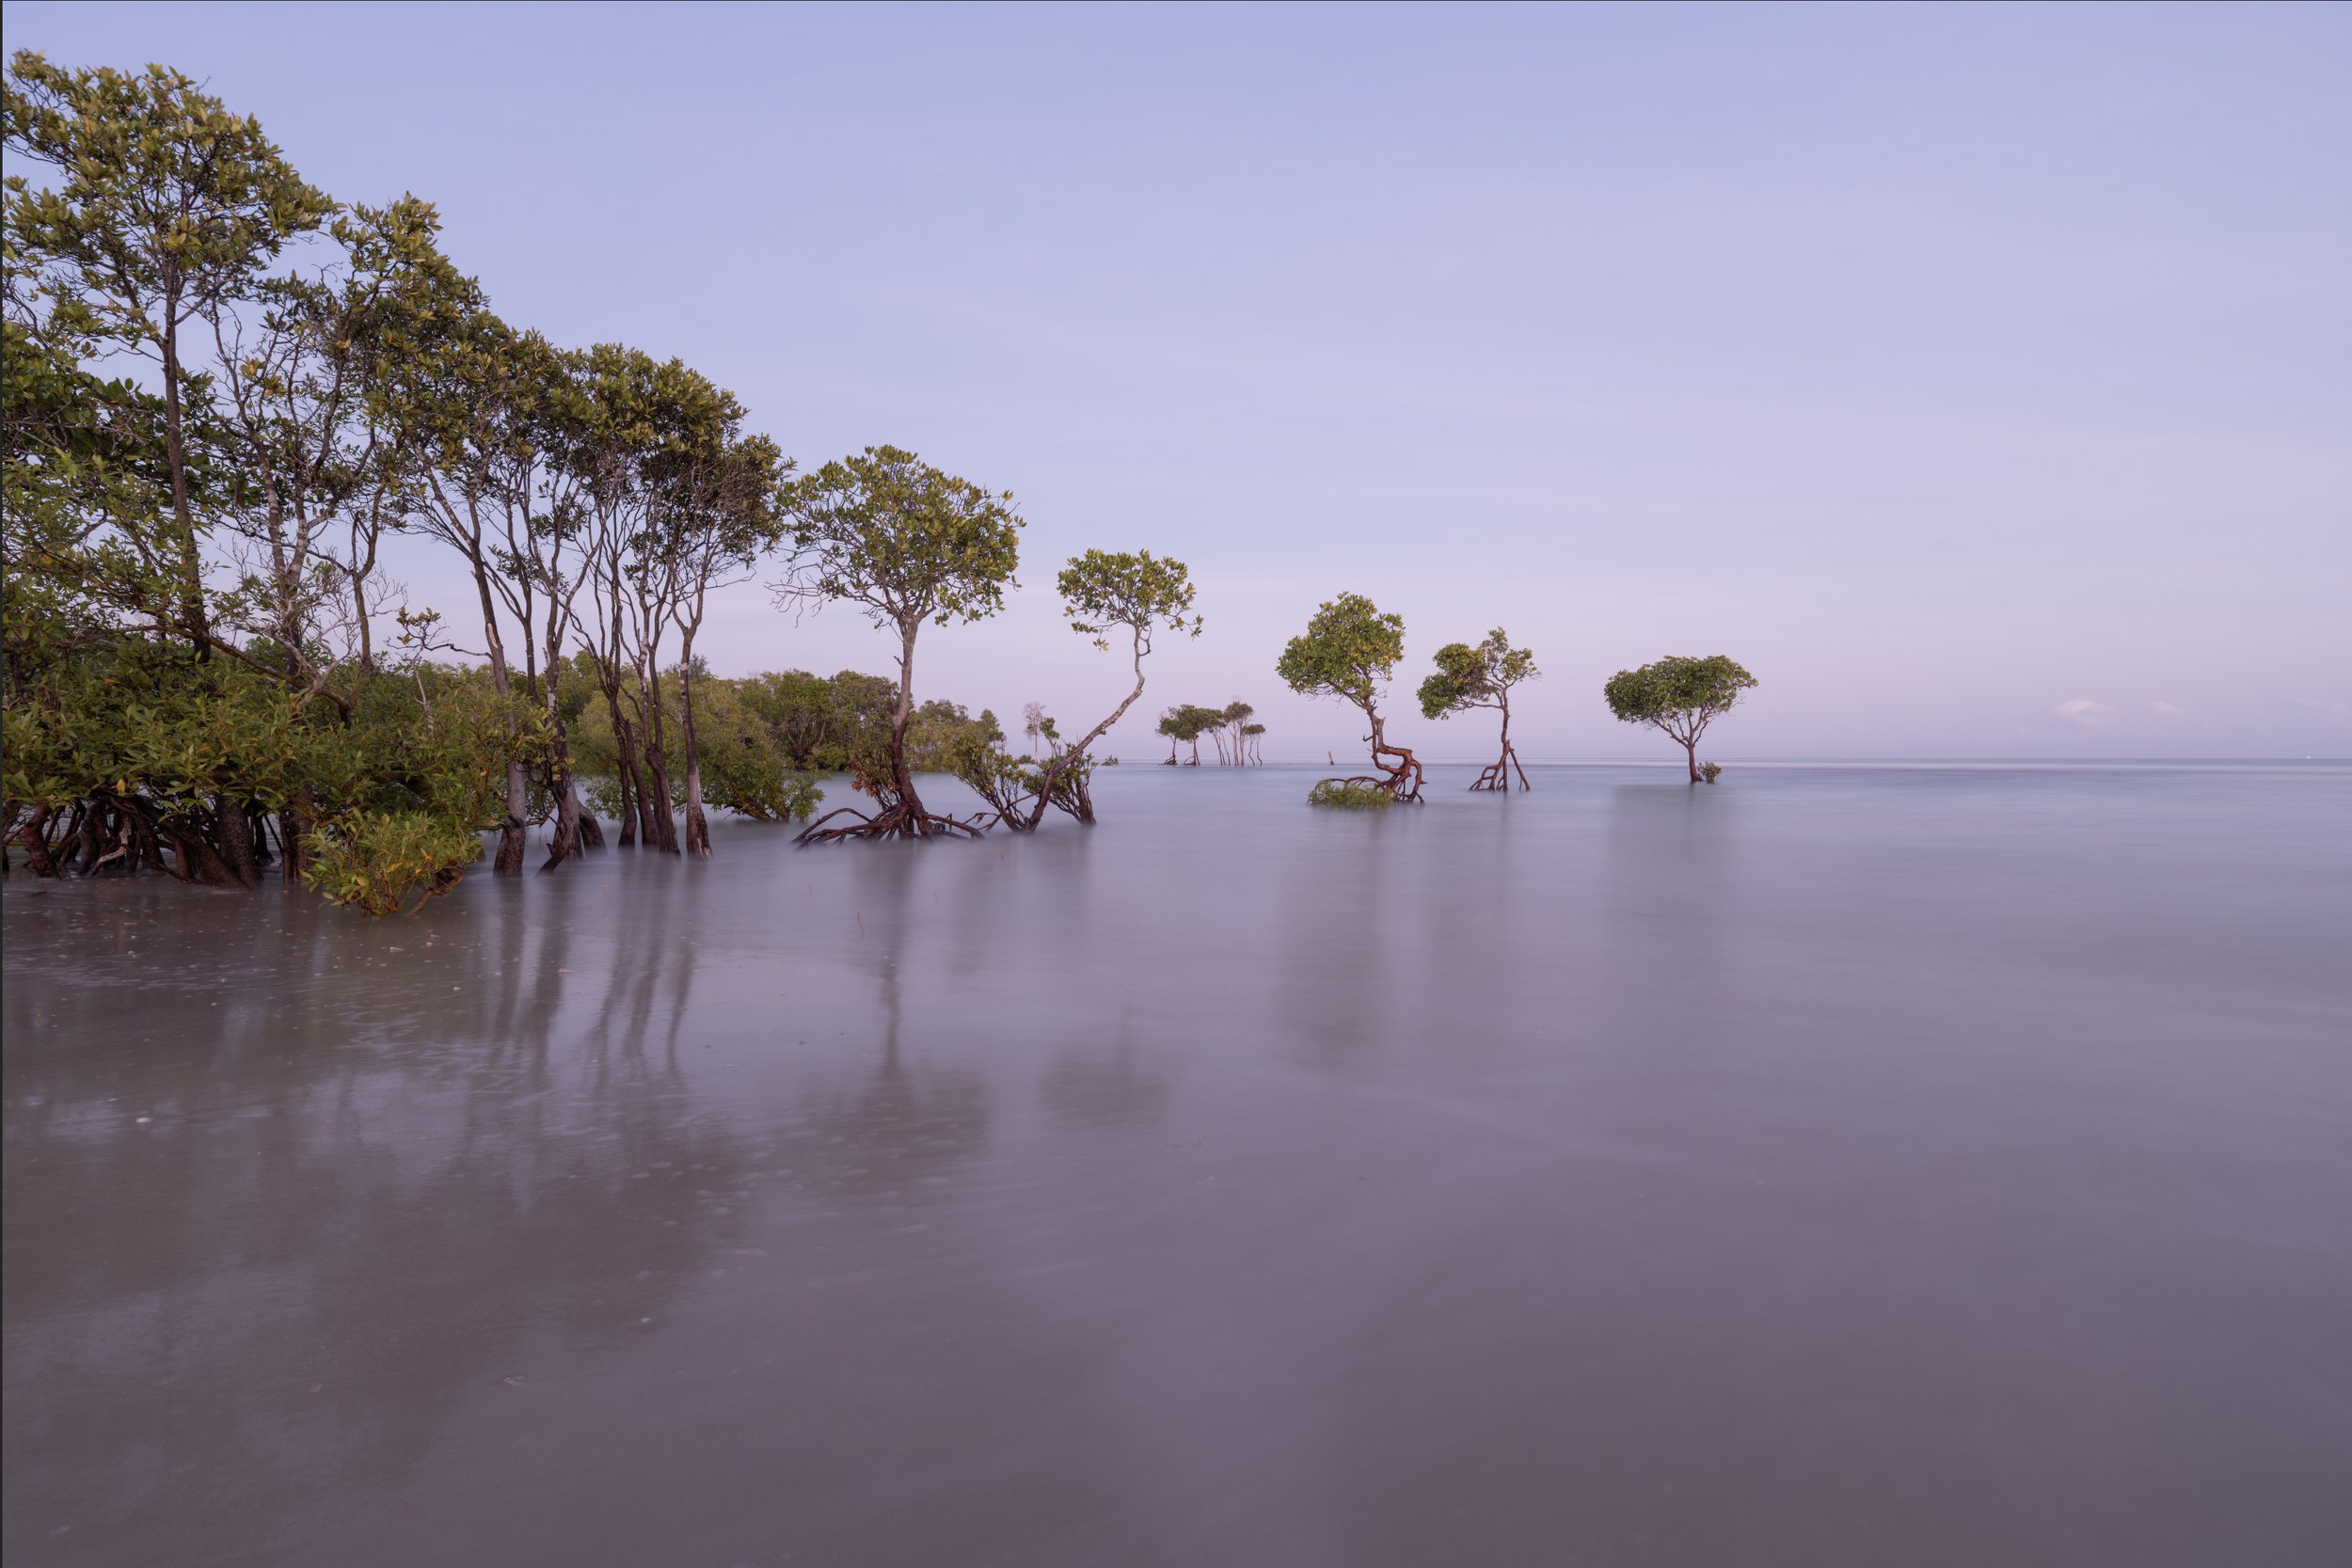
The RAW file
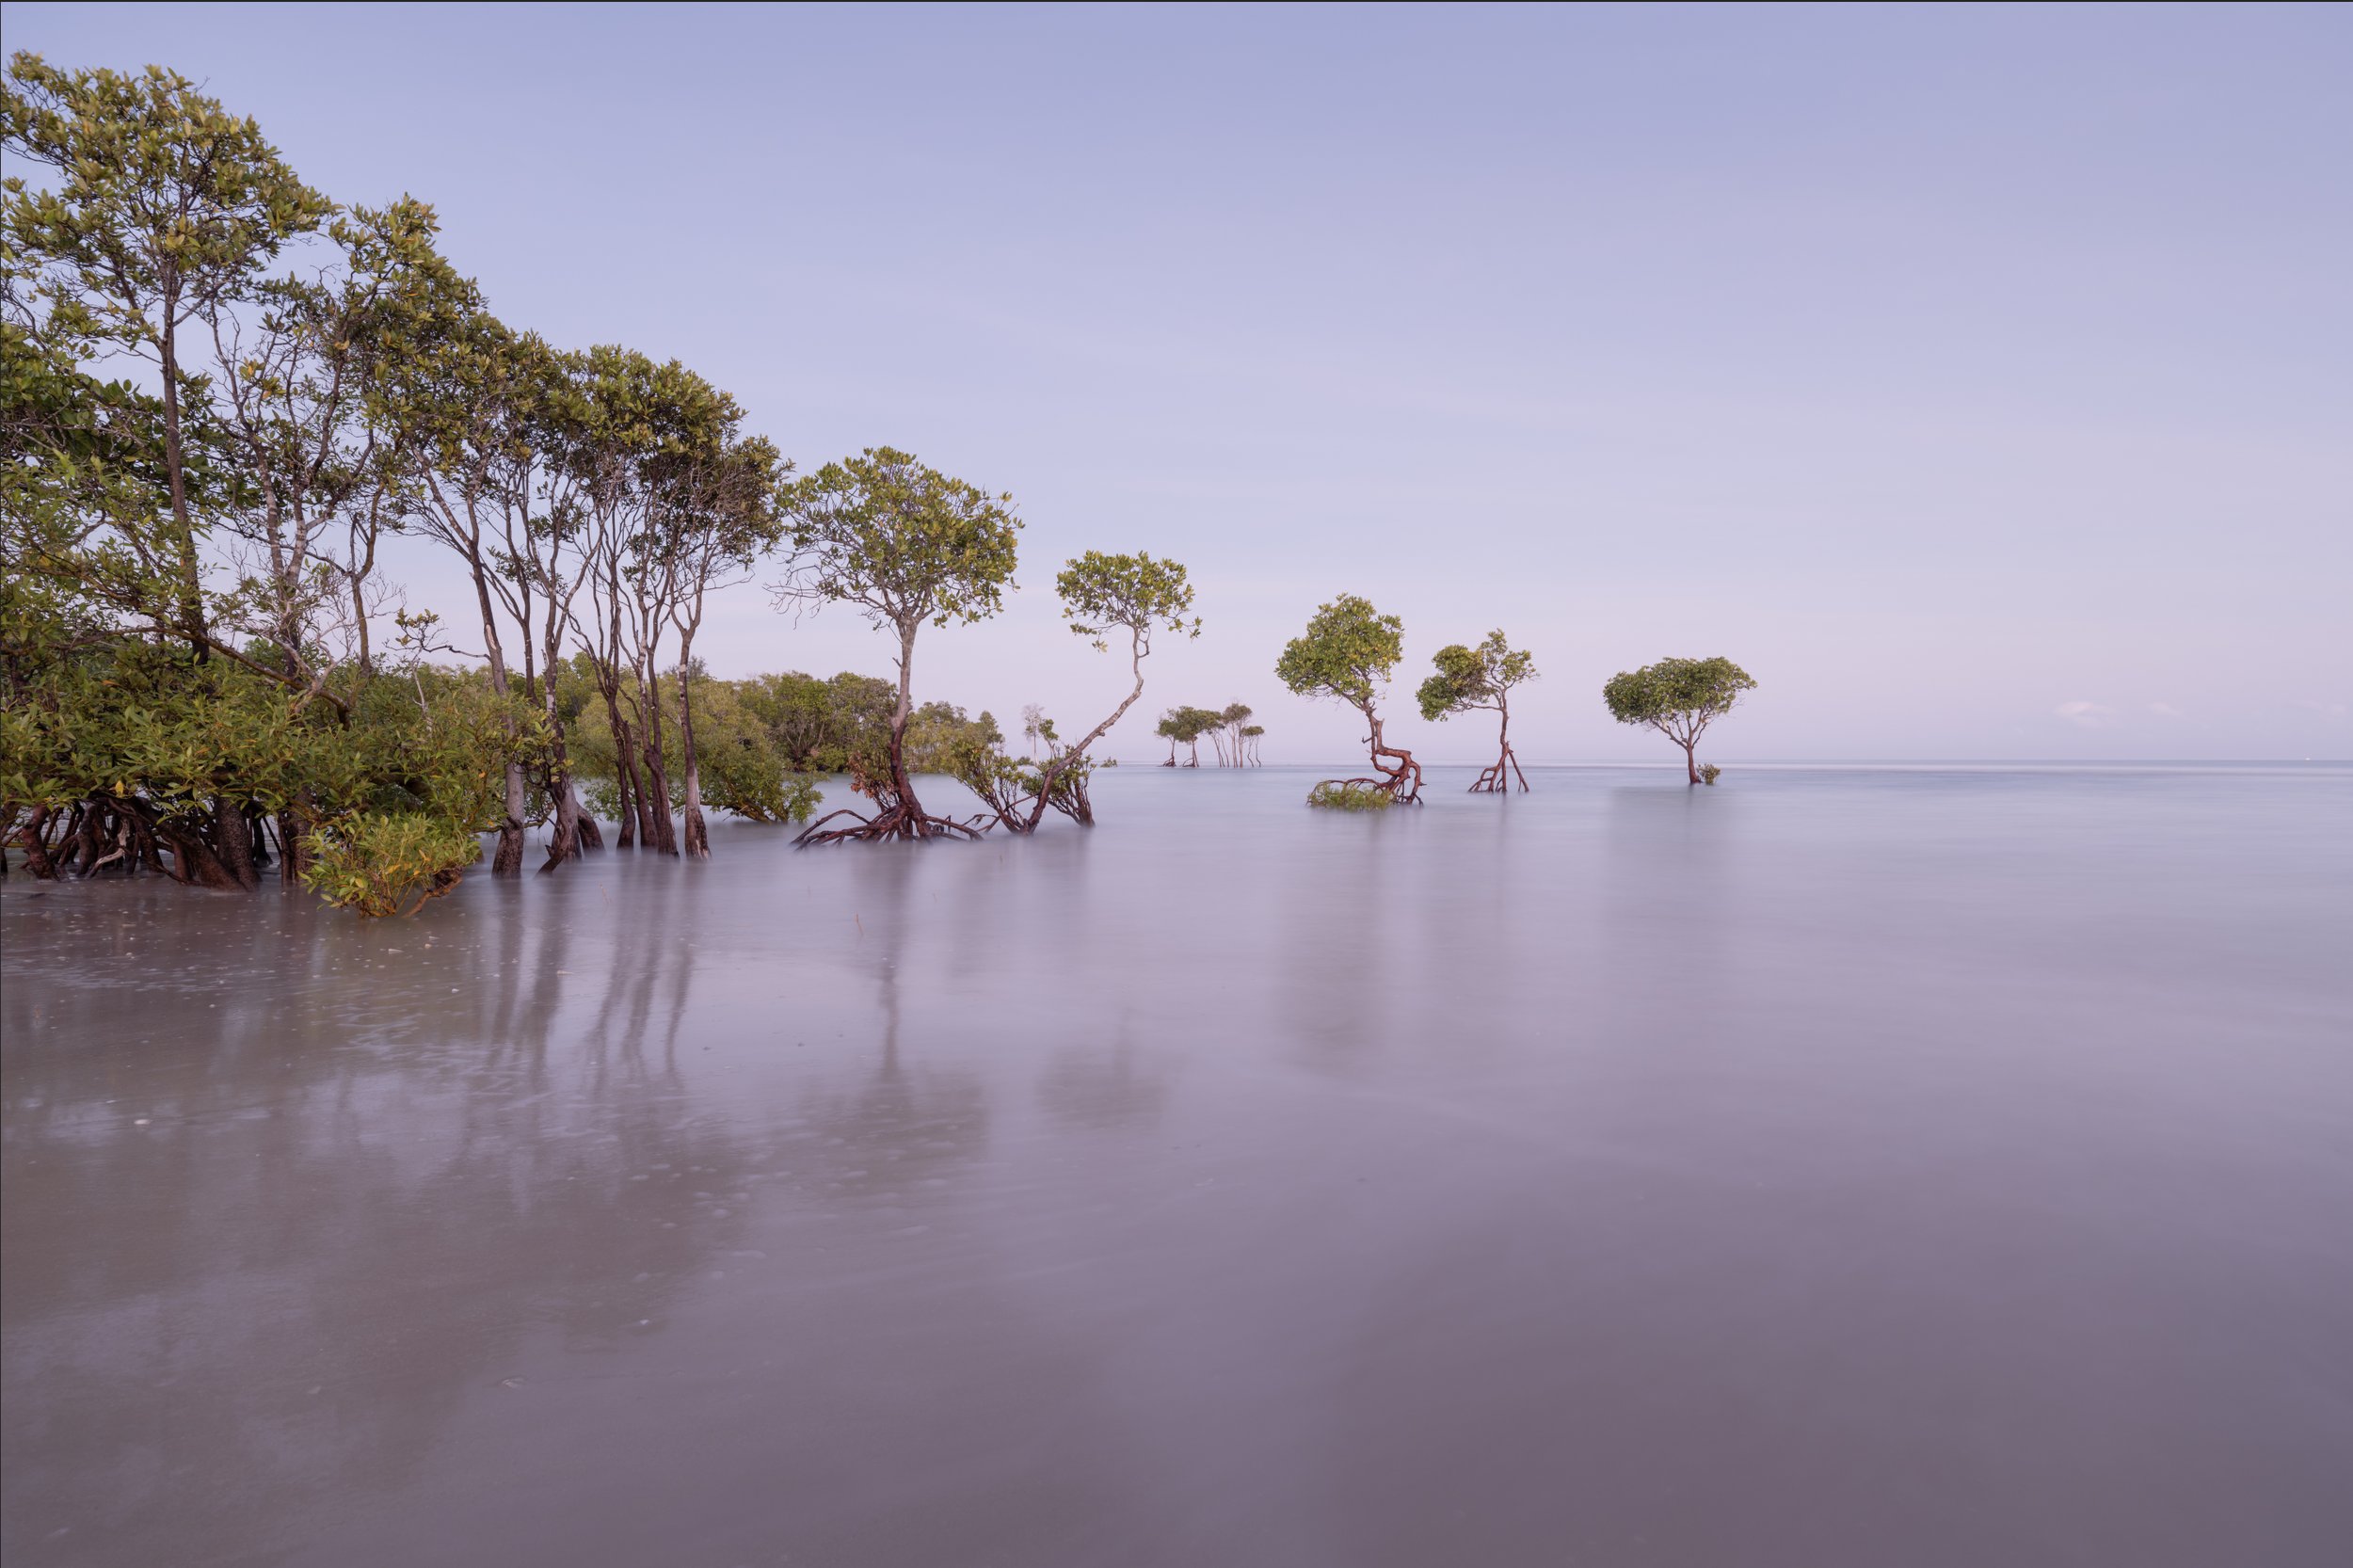
Step 1
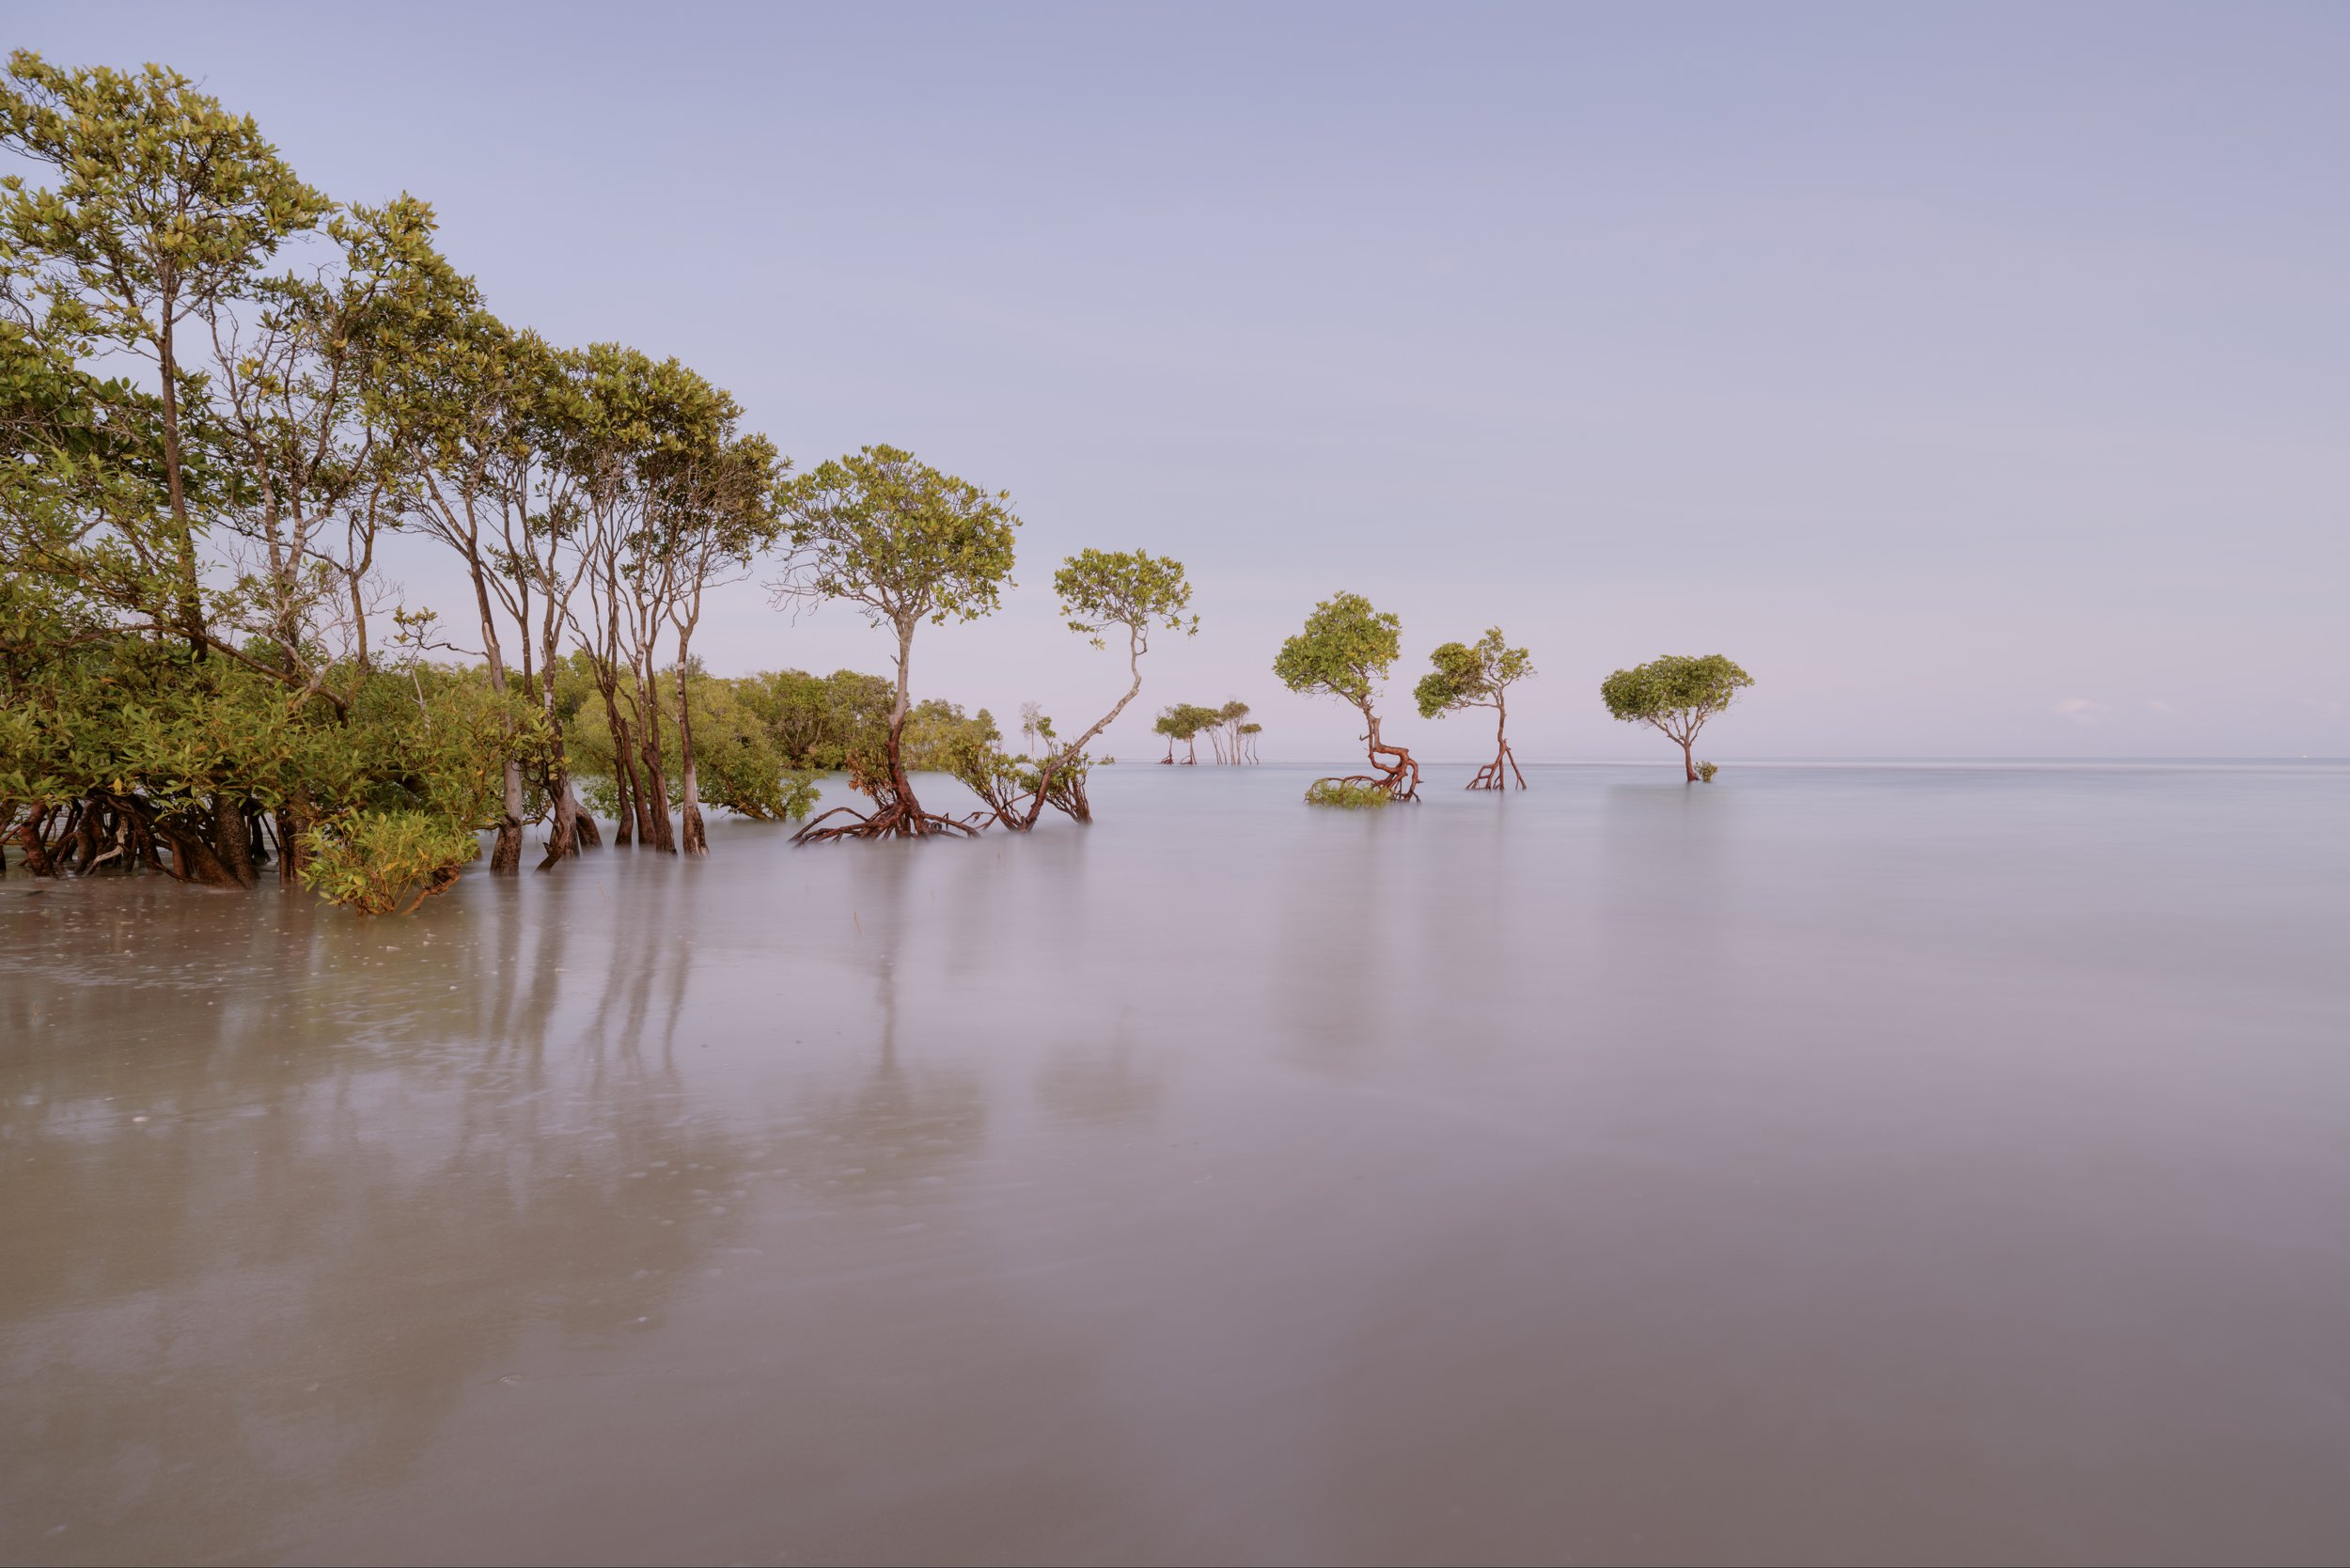

The final edited image
Here’s the step by step process and my thoughts
Above, you can see the original RAW file straight out of camera - the Fuji files are naturally very blue compared to the native RAW files from the Canon cameras I’ve used for the 15 years prior to the Fuji. I prefer warmer colours, so that’s where you’ll see the biggest transformation.
Step 1 (left)
A couple of easy/basic tweaks here…
I always start with any object removal that needs to be done. Here, I removed a distracting tree stump from the background (which doesn’t bother me looking at the screen, but if I ever print this image big, I know it’ll annoy me!).
Next I sort of “set the foundations” of the exposure I want.
First I lighten the whole image. I’ve found that the Fuji is much better at recovering shadow detail than highlight detail. My trusty old Canon 5DS was the other way around - better at recovering highlights but terrible at bringing back shadow details. So, with the Canon I always used to over expose a little, knowing that I could recover brighter areas and the shadows would be exposed enough. With the Fuji I tend to err on the slightly under exposed side so that I don’t lose the highlight detail… knowing I can bring the shadows up easier. At this stage, I also brightened the middle section a little, whilst leaving the top/bottom slightly darker - to keep the eye drawn to the middle of the image.
Step 2 (left)
More targeted exposure adjustments using luminosity masks and curves layers. I often have several curves layers, and use a variety of masks - meaning that my curves (exposure and contrast) adjustments are focused only on a particular section of the image.
Step 3 (left)
I then play with the colour balance a little, to try and increase the warmth I like and reduce the blue tones, especially in the shadows.
Step 4 (left)
After I’ve done this, I decide I need to brighten and play with the exposure a little bit more! Sometimes edits you add, will impact or change other adjustments. So I find I do tend to go back to exposure/contrast a bit more after I’ve adjusted the colour.
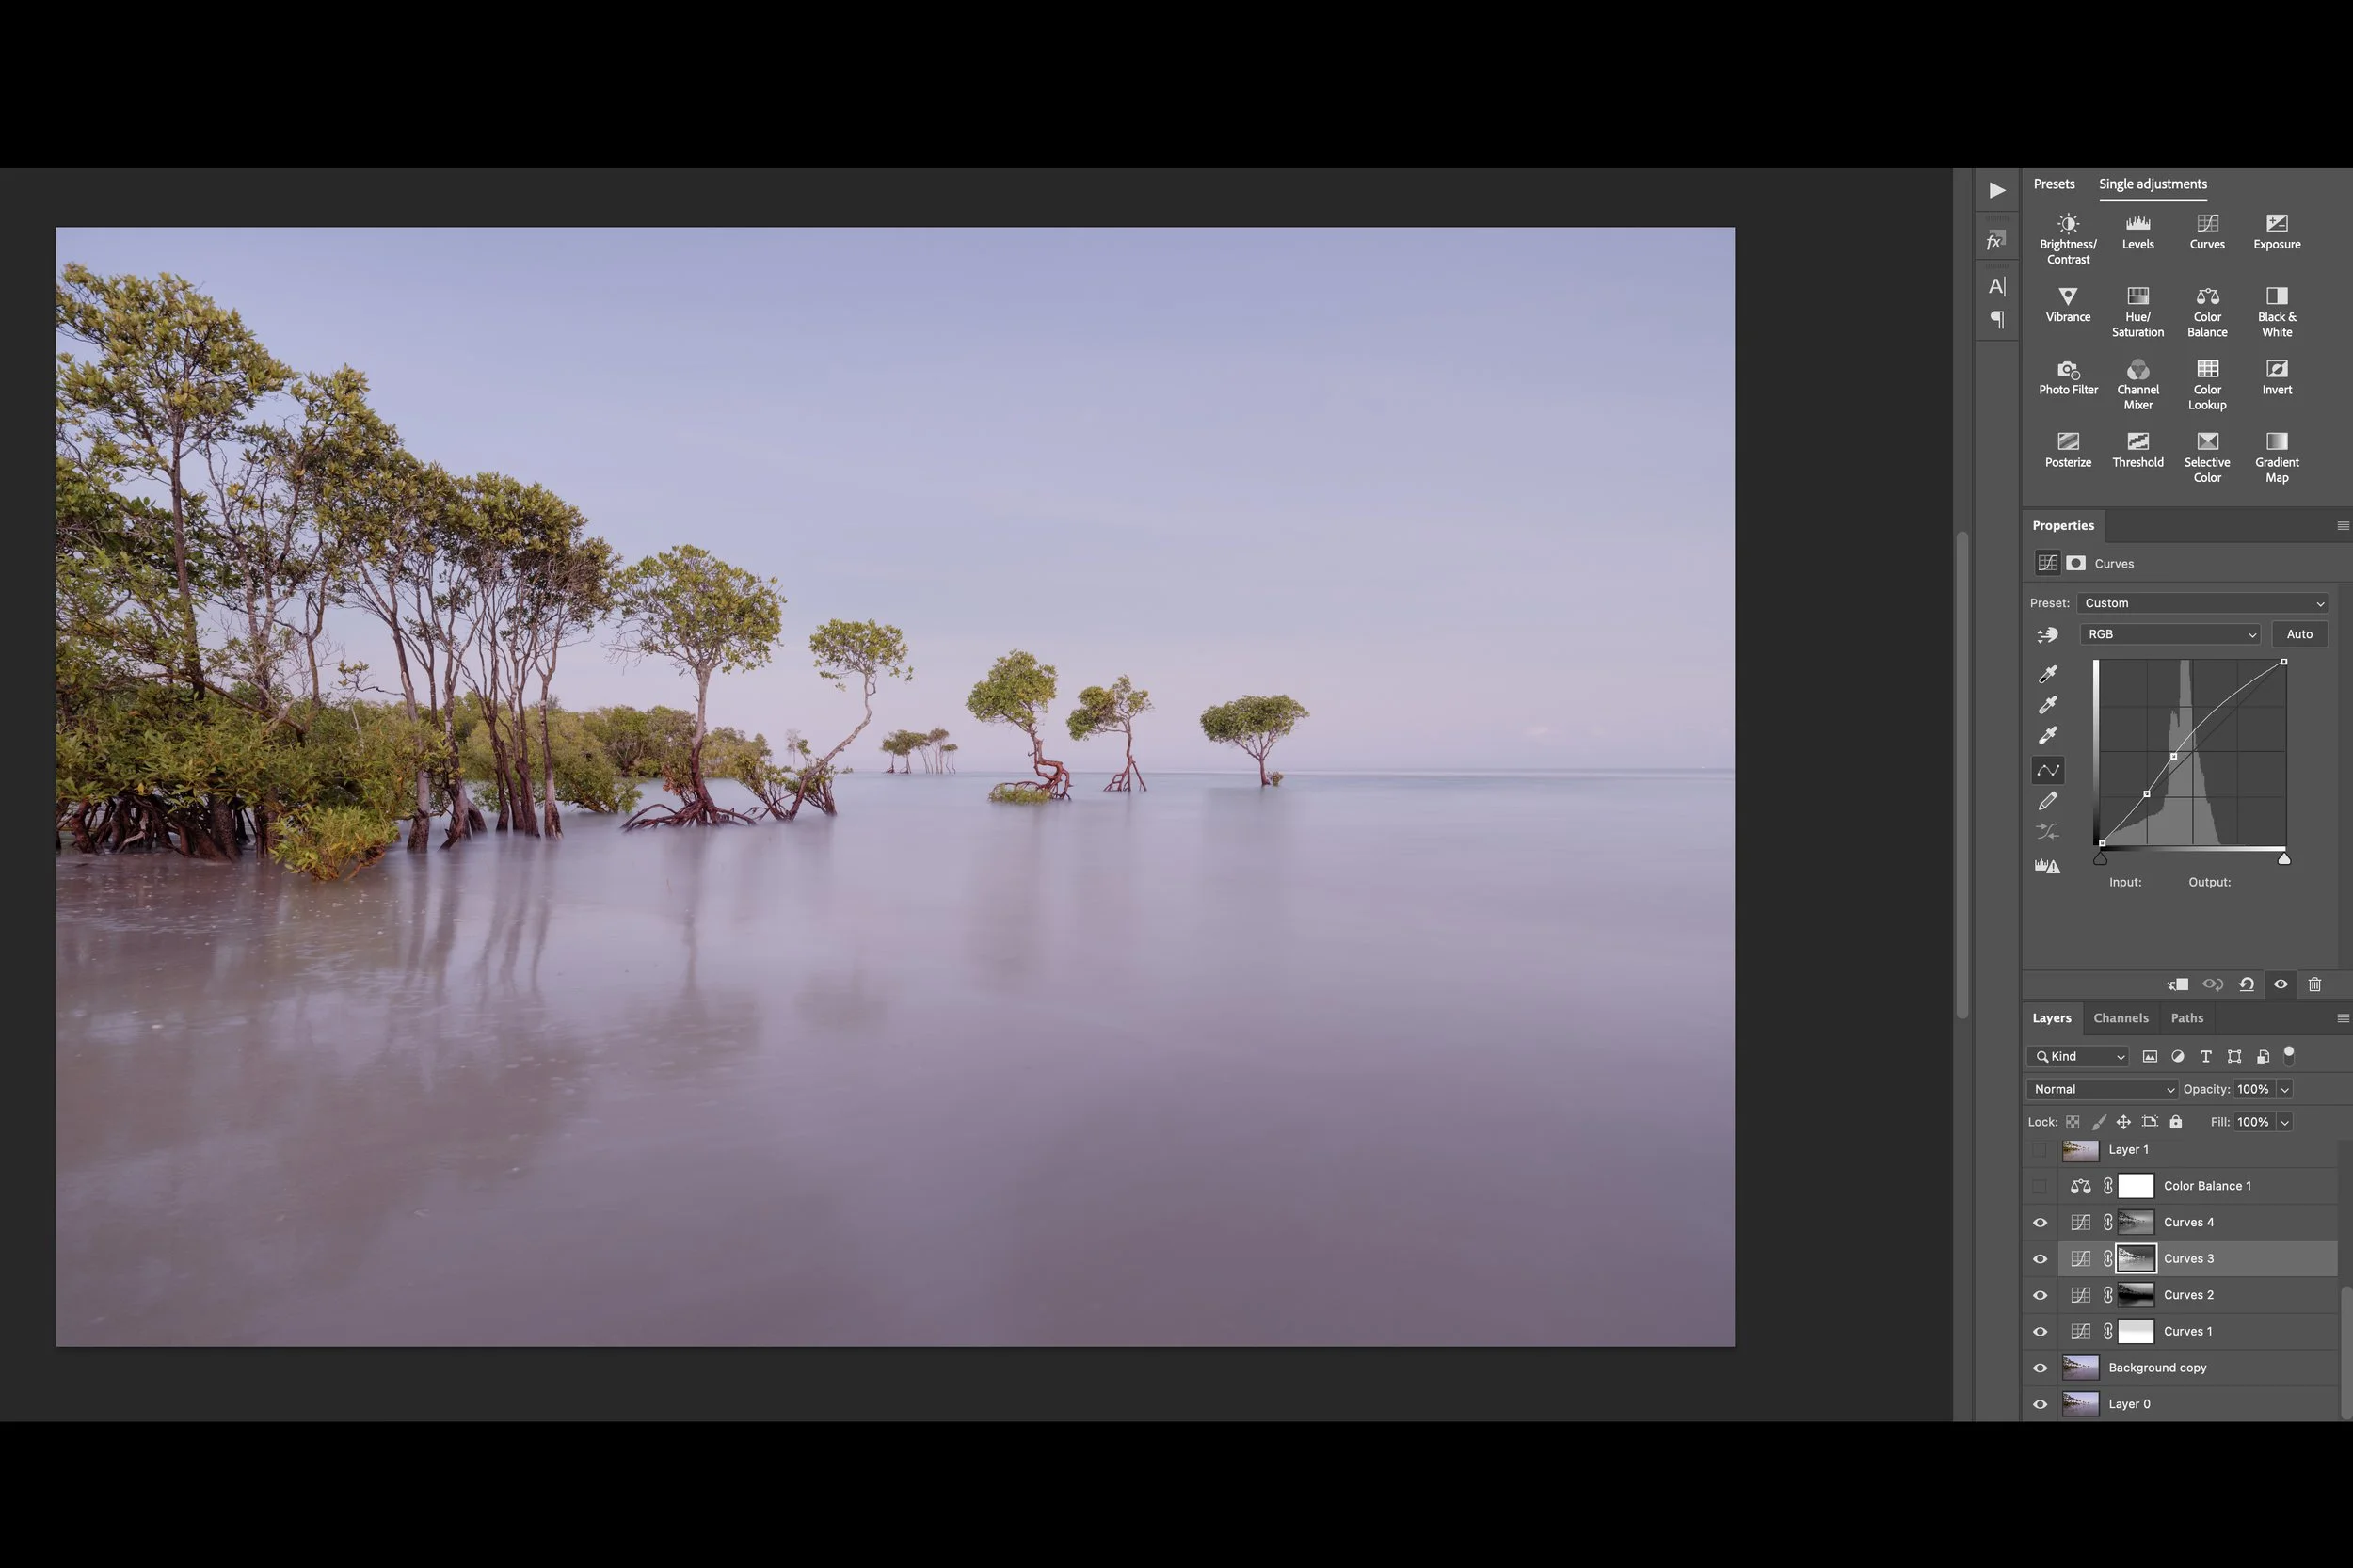
Step 5 (below)
A final selective colour layer, to bring out the warm colour on the horizon a little more. That’s it!
You can see all of my final layers in the image below.

Here’s the finished result — a warmer, balanced, more vibrant version of the original file, ready to print and share.
Editing isn’t about “fixing” a bad photo; it’s about shaping the raw potential into a final vision. It’s my way of translating what I felt when I was there, not just what I saw.
Want Me to Edit Your Photo?
If you’d like to see what your own image could become, I’m about to just launch a Personalised Photo Edit (Video Recording) service!
You upload your photo (or email it to me), and I’ll send you a full recorded walkthrough of how I would edit it - step by step - along with commentary on my choices… and a final JPG image!
If this is something you’d be interested in, you’ll be able to see the information here from the end of September -
Otherwise be notified of new products, services and images by joining my newsletter community here