Larapinta Trail - Day 5 - Standley Chasm to Brinkley Bluff

Fresh faced and showered after a night at Standley Chasm
Feeling clean and refreshed and ready to tackle my next section! I left Standley Chasm just after 8am - a relatively late start for me. I was dreading my pack - the heaviest load I would ever have carried - 7 days worth of food plus water for nearly 2 days.
However, on actually putting it on and starting to walk, I realised it felt suprisingly OK - and I was mentally prepared to have to take more breaks due to the extra weight.
I’m very proud of how much gear and water I carried on that first couple of days out of Standley - looking back now - that bag was bloody heavy!! I’d guess it’d have been pushing 20kg. I just would like to say, that I LOVED my trekking pole - I’ve never used one before, and dealing with this terrain, the ups and downs and the pack weight - the pole really helped with the weight and balance. I’ll never do a hike without it now, I don’t care what people think!

Fresh morning light leaving Standley Chasm

Bridle Path lookout - a definite rest stop! The first saddle.

Bridle Path lookout is the first saddle and amazing vantage point along Section 4. Definitely a worthwhile break point! Although I was up here in the middle of the day, I still managed to make time to shoot. There were heaps of swallows swooping around me, and the walk up to Brinkley was really where I started to notice the huge numbers of wildflowers!
The views kept getting better and better, from here.


Another shot looking down in to the valley from Bridle Path lookout

Not far along was Reveal Saddle.

Jagged rocks

Patterns from Reveal Saddle

The view from Reveal Saddle - named as such, because this is the first point you clearly see the summit of Brinkley Bluff up ahead (the round dome peak in the background of this shot).

Reveal Saddle was my lunch stop - it was definitely getting hotter from this point too! Check out this quick video clip of the trail and terrain just after Reveal Saddle - it shows the amazing landscape and the valleys below.
This section leaving Standley Chasm up to Brinkley Bluff was spectacular. The ascent was not particularly steep or difficult. It was just a steady up. The ever improving views from the multiple saddles and lookout points definitely helped reduce the pain! I took a lot of shots on this part of my walk - it was definitely a highlight for me!

Brinkley Bluff and its many false summits


I actually cried a little tear of joy when I finally saw this cairn!
Coming from east to west, the climb up Brinkley Bluff was long and steady. I had been warned about many false summits and I was glad I was mentally prepared for this! There were definitely many false summits - the climb seemed to go on and on.


I arrived up at Brinkley Bluff at around 2pm. After departing at 8am that morning, so a total travel time of around 6 hours. I definitely could have done it quicker with a lighter pack, and I did take a LOT of photos on this part! So if anyone is reading this and considering their own Larapinta Trail plans, just remember that I am not a typical hiker. I am quite quick when I get going. And I am much quicker up hill than down, but I still took my time on this section. In saying that, I don’t think it is wise to attempt what I had planned - a walk down from Pravda Spur, straight through Standley Chasm and on to Brinkley straight away! This is a part of the walk that really needs to be savoured and enjoyed. It’s stunning!

Early dinners - mountain views!
I much prefer to arrive at my campsite at this sort of time. 2pm-3pm is good. Gives a bit of relax and rehydrate time, time to put up the tent, scout the locations for the sunset shoot…. then I usually have dinner sometime around 4:30-5pm, so I can then shoot sunset light and that magical golden hour!
My dinner (right) here was a chickpea coconut curry - one of my favourite dehydrated meals!
My previous days since leaving Alice Springs, I’d been covering big distances and getting into camp late. I kinda felt like those first couple of days were “warm up” days! Now I was really feeling like I was getting to the nitty gritty - in to the awesome scenery!

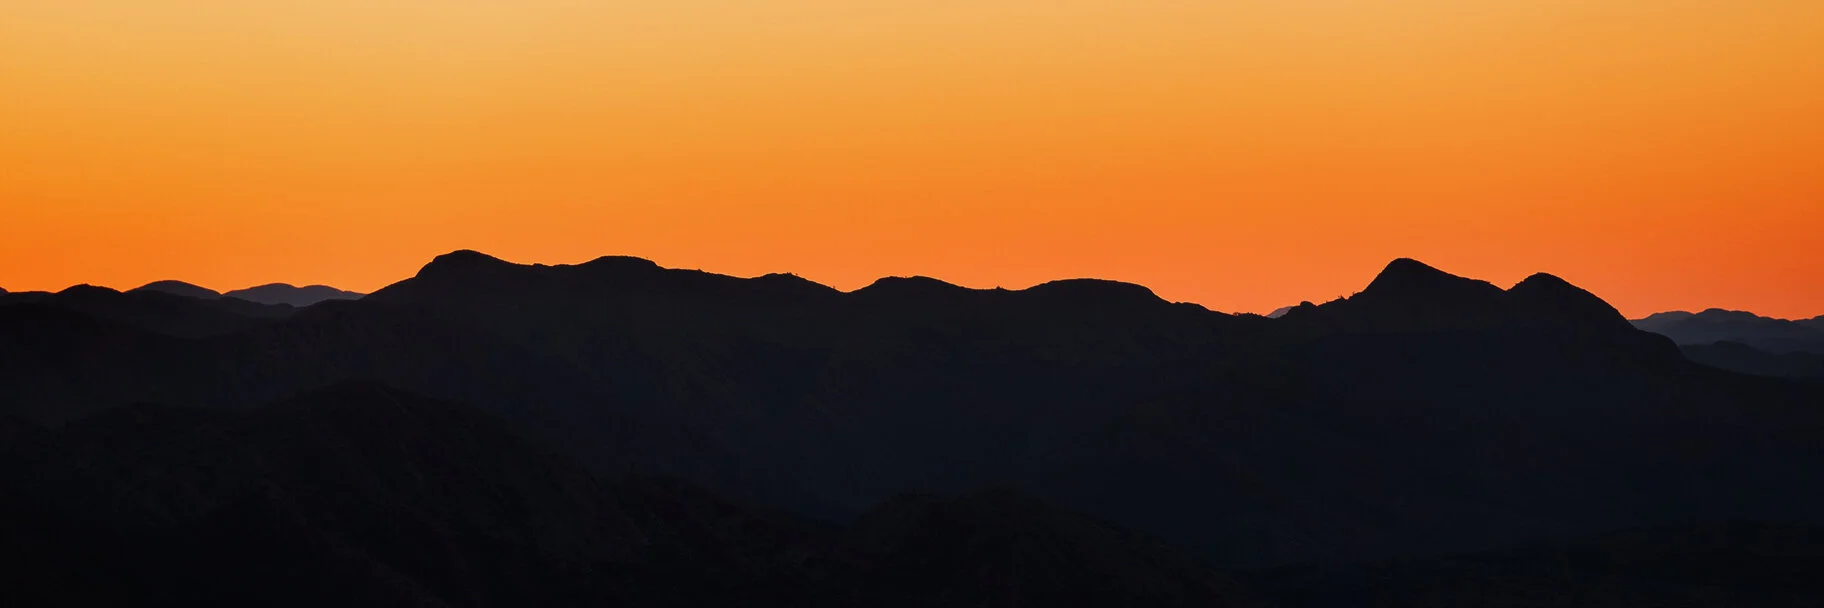
Panoramic views from the top